How To Install Paint Protection Film: Step-By-Step Guide
Want to start a DIY paint protection film installation, but do not know where to begin? This guide from Xtreme Xcellence Detailing explains how to install paint protection film using the proper application methods to achieve the best possible results.
Key Takeaways
- DIY paint protection film installation is possible, but requires proper tools, preparation, and technique.
- Surface preparation directly affects PPF adhesion and finish quality.
- Wet application methods help achieve accurate alignment and bubble-free results.
- Common DIY mistakes reduce durability, clarity, and self-healing performance.
- Professional PPF installation is safer for complex or luxury vehicles.
What Is Paint Protection Film (PPF)?
Paint protection film is a thermoplastic polyurethane (TPU) layer designed to protect automotive clear coat, vehicle paintwork, and factory finish from rock chips, scratches, UV exposure, and chemical stains. PPF acts as a sacrificial barrier, absorbing impact before damage reaches painted panels.
Tools Required For Paint Protection Film Installation
Successful paint protection film installation depends on correct tools and controlled handling. Here is the checklist:
- Spray bottles control lubrication during paint protection film placement.
- Slip solution allows adhesive movement for accurate positioning.
- Tack solution increases adhesion strength on edges and tight areas.
- Squeegee removes air pockets, moisture, and surface contaminants.
- Heat gun assists film conformity on curves and complex panels.
- Microfiber towels prevent surface scratching during preparation and cleanup.
- Precision blade trims excess film cleanly without damaging paint.
Preparing The Vehicle Before Installing PPF
Before installing paint protection film, the vehicle surface must be completely clean and free from contamination.
- Wash painted surfaces using a pH-neutral shampoo to remove loose dirt.
- Perform iron decontamination to eliminate embedded metal particles.
- Use a clay bar treatment to remove bonded surface debris.
- Dry the vehicle completely using microfiber towels.
- Wipe all panels with isopropyl alcohol to remove oils and residues.
- Proper preparation improves adhesive bonding, optical clarity, and edge durability.
Step-By-Step: How To Apply Paint Protection Film
Follow this structured method to understand how to apply paint protection film safely and consistently.
Step 1: Prepare Slip Solution And Work Area
Begin by mixing the slip solution with distilled water and baby shampoo. Maintain indoor temperatures between 65 and 75 degrees Fahrenheit. Control dust, lighting, and airflow to reduce contamination during film placement.
Step 2: Position And Align The Film
Spray the adhesive side generously before placing the film on the panel. Align edges, body lines, and corners before adhesion starts. A wet adhesive surface allows repositioning without tension or distortion.
Step 3: Squeegee And Remove Air And Moisture
Apply steady squeegee pressure from the center outward. Use overlapping strokes to remove trapped moisture, air bubbles, and solution residue. Excessive pressure can stretch the film and damage adhesive channels.
Step 4: Stretch And Conform Film Around Curves
Use gentle heat to help the film conform to curved panels while maintaining tension control. Thermoplastic polyurethane stretches less than vinyl wrap. Excessive heat or force reduces self-healing performance and weakens edge retention.
Step 5: Trimming, Edges, And Final Inspection
Trim excess material carefully using a precision blade. Inspect edges for lifting, contamination, or remaining moisture. Allow the vehicle to cure indoors for 12 to 24 hours before exposure.
Common Mistakes During DIY PPF Installation
DIY paint protection film installation often fails because small mistakes compound into visible defects and early film failure. The most common DIY errors include:
- Poor surface preparation leaves contaminants under the film.
- Dry adhesive handling causes premature bonding and misalignment.
- Overstretching the film weakens the structure and reduces the self-healing ability.
- Trapped debris creates visible bumps and reduces clarity.
- Uneven edge trimming leads to lifting and early failure.
Helpful Tips For Better PPF Application Results
Achieving professional-looking results requires consistent technique and controlled execution throughout the installation process. The following tips help improve application quality:
- Use distilled water to prevent mineral spotting during installation.
- Maintain steady and even squeegee pressure across the entire panel.
- Allow sufficient dwell time before sealing edges or trimming excess film.
- Take time during alignment, since rushed positioning often causes tension and distortion.
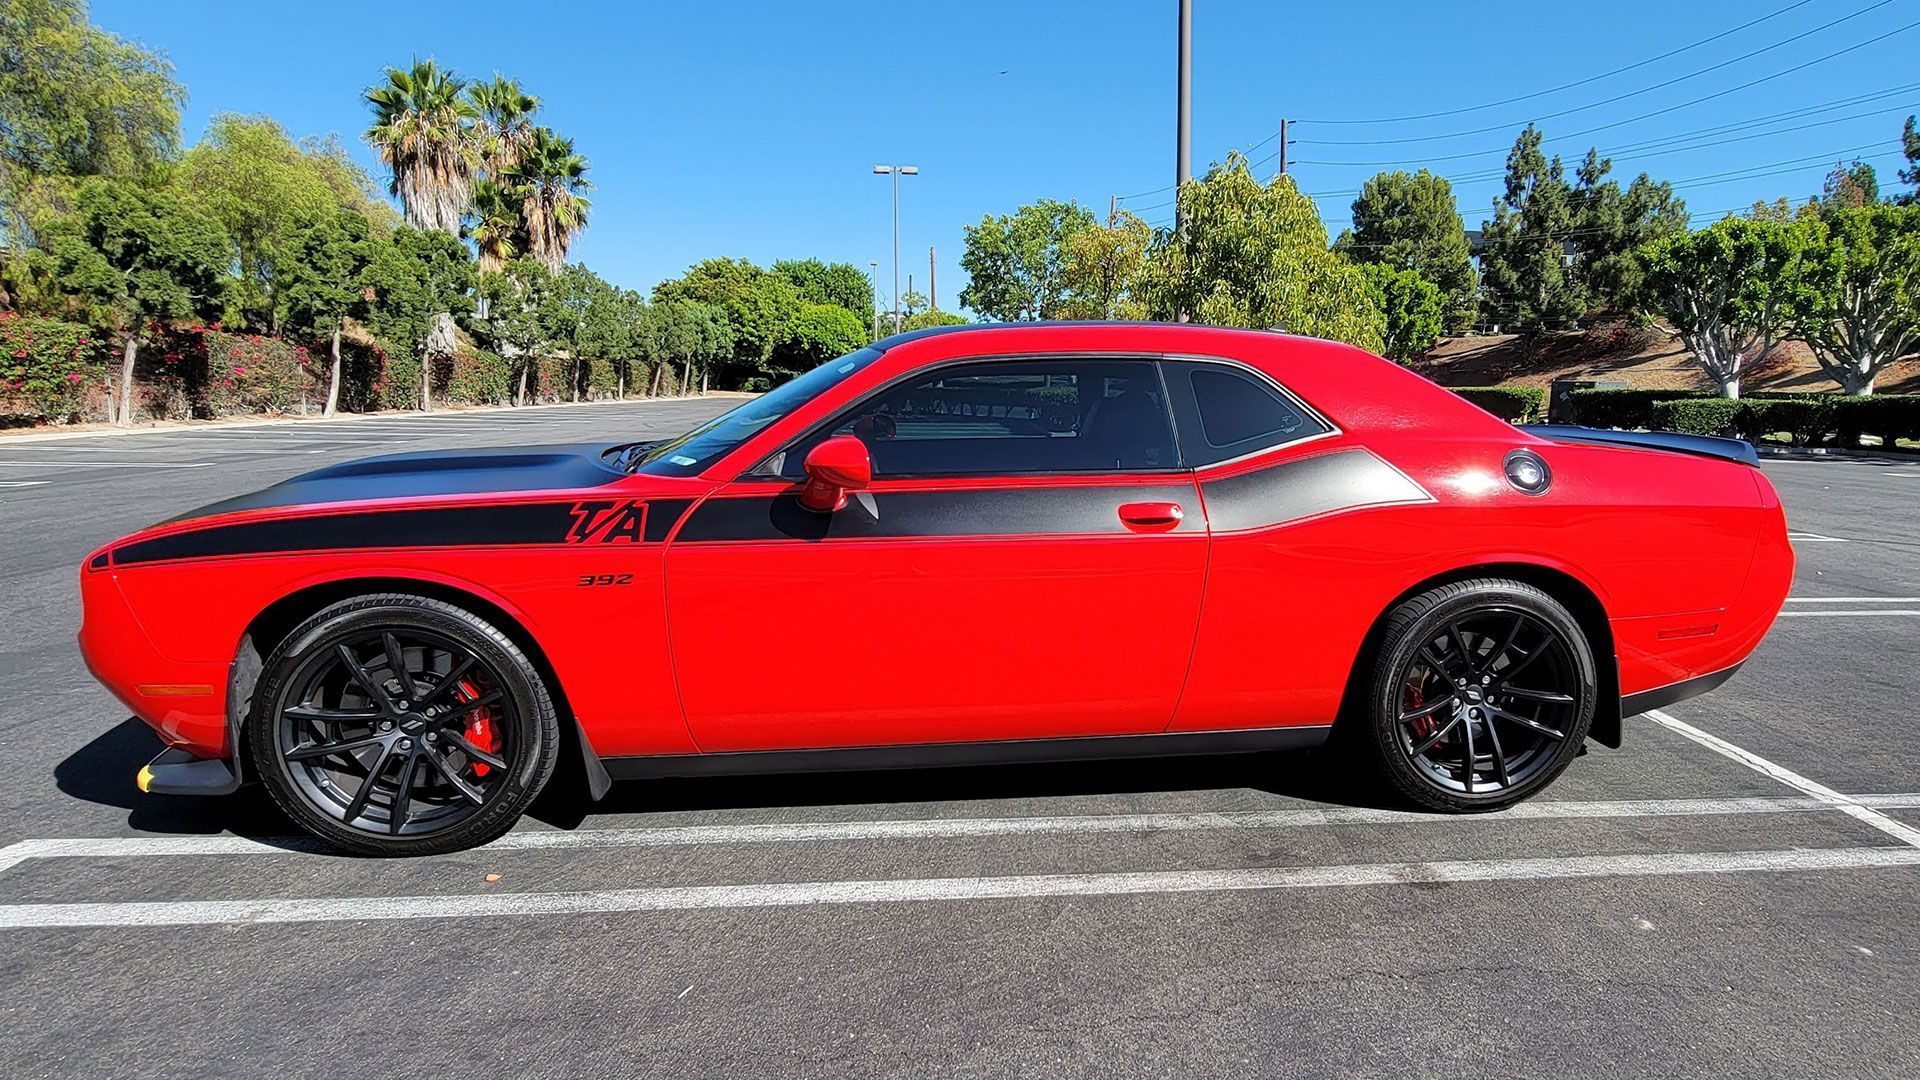
Benefits Of Properly Installed Paint Protection Film
Paint protection film is more than a cosmetic upgrade. When installed correctly, paint protection film becomes a long-term investment in paint preservation and vehicle value.
Here’s why paint protection film is worth it:
- Impact resistance helps protect painted surfaces from rock chips and road debris.
- Scratch prevention shields the clear coat from light abrasions and wash marks.
- UV protection reduces paint fading and oxidation caused by sun exposure.
- Chemical resistance protects against stains from bugs, bird droppings, and road grime.
- Self-healing performance allows minor swirl marks to disappear with heat.
Choose Professional PPF Installation As A Safer Option
DIY installation is not ideal for complex panels or luxury vehicles. Professional installers use controlled environments, precision-cut patterns, and advanced techniques. For vehicle owners seeking paint protection film in Laguna Hills, CA, Xtreme Xcellence Detailing delivers consistent results.
Contact us today for professional paint protection film installation near your area!
FAQs